How to Make a Split Screen Video for Shorts and Reels
A split screen video shows two or more clips in one frame. Here is the 3-step manual method, a 9:16 layout cheat sheet for Shorts, TikTok and Reels, and a faster AI route.

AutoShort Editorial Team
Short-form video guides
November 1, 2026 · 14 min read
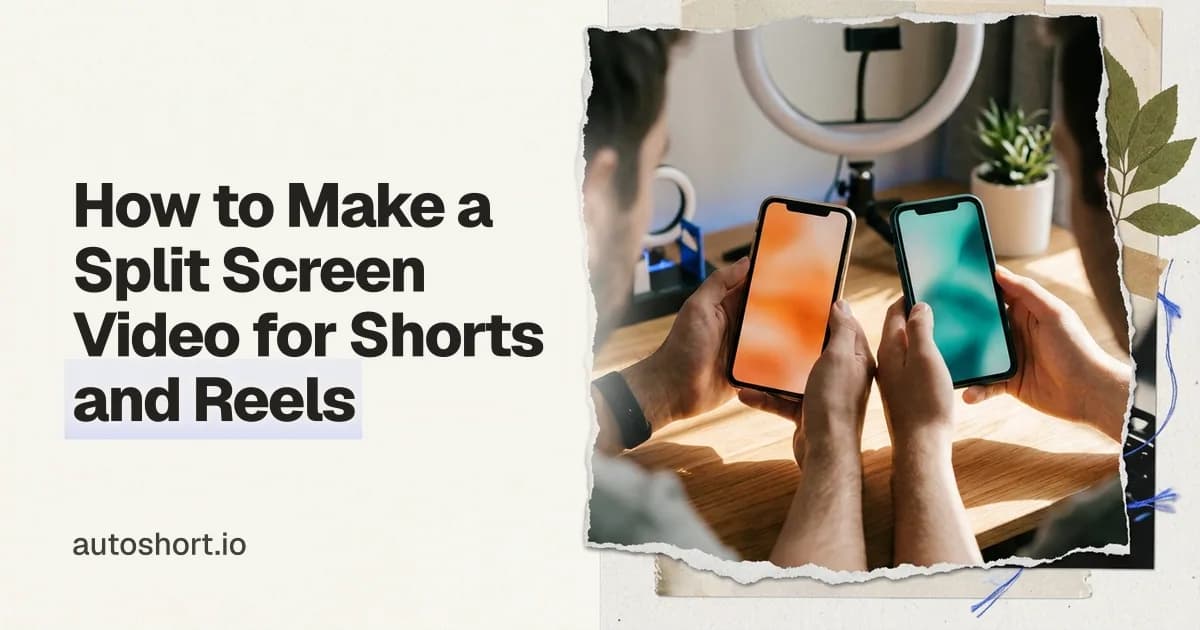
A split screen video shows two or more clips playing at the same time in one frame, side by side, top and bottom, or in a 3- or 4-panel grid. To make one, set your canvas (1080×1920 for Shorts, TikTok and Reels), stack each clip on its own timeline track, then scale, position and crop each clip into its cell before exporting.
Key takeaways
- The core method is the same in every editor: separate tracks, equal length, then scale, position and crop.
- In Premiere Pro, a half-screen split on a 1920-wide frame uses Scale 50 with X positions of 480 and 1440.
- For vertical short-form video, use a 1080×1920 canvas and a top/bottom layout, not side by side.
- Keep captions out of the platform UI areas and pick one audio source to avoid clashing sound.
- An AI generator can produce the narrated half of the frame in minutes, so you only assemble the layout.
What Is a Split Screen Video (and Why Use It on Shorts, TikTok and Reels)?
Split screen video: a single frame divided into two or more regions, each playing its own clip at the same time.
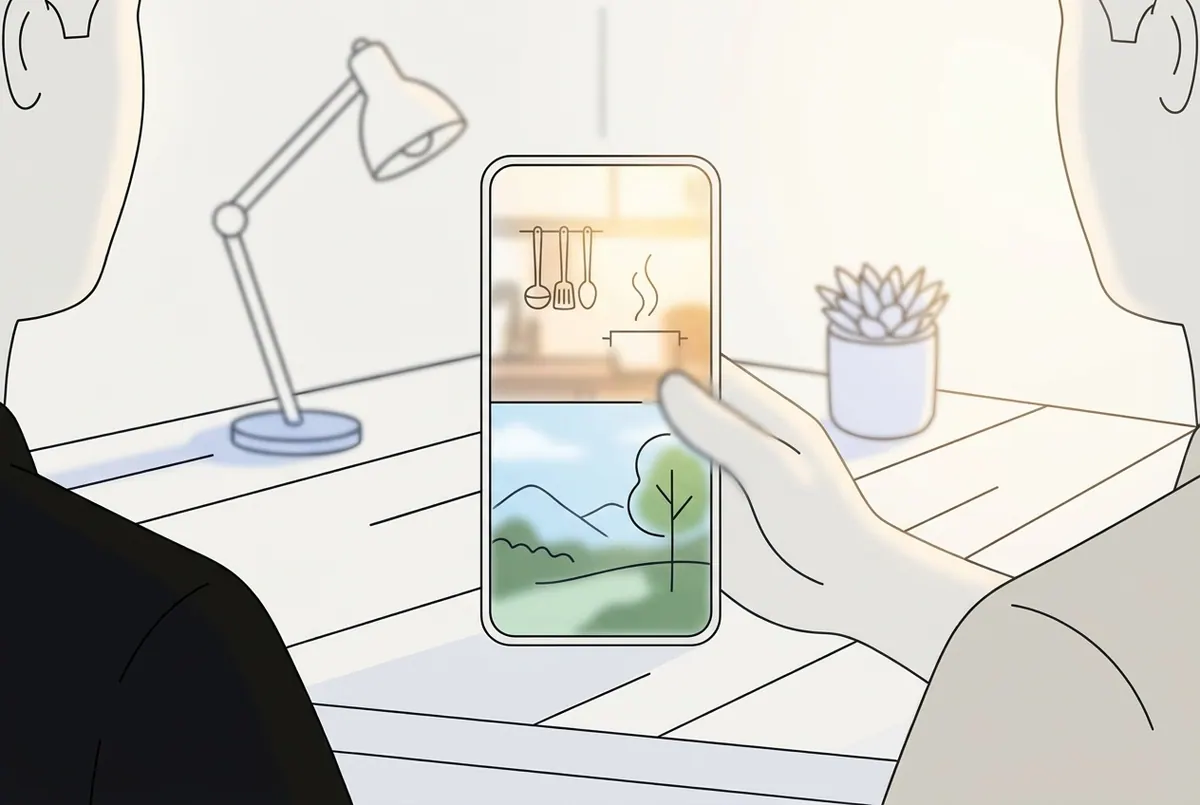
It is different from picture-in-picture: one clip fills the frame and a smaller clip floats on top of it. Apple's iMovie lists Split Screen, Cutaway and Picture in Picture as separate overlay options, which is a useful way to keep the three effects apart.
The term also has a computing and gaming meaning. Wikipedia's split screen (computing) entry covers multiplayer games that divide a display between players, a practice going back to at least the 1970s with Drag Race (1977). That is not video editing, and this guide only covers the editing sense.
Side by side, top and bottom, and 3- or 4-panel grids
Four layouts cover nearly every use case:
- Side by side: two vertical halves. Works best on 16:9 horizontal video.
- Top and bottom: two horizontal halves. The default for 9:16 vertical video.
- 3-panel: one large cell plus two smaller cells, or three equal stacked strips.
- 4-panel grid: four equal quadrants, often separated by thin dividers.
- Unequal split: for example 60/40, where one clip is the focus and the other supports it.
Why creators use it: retention, before/after, reactions, story over gameplay
On short-form platforms, split screen gives the viewer two things to watch at once. The most recognizable example is the Reddit story format: a narrated story with captions on top and continuous gameplay footage below.
Other proven pairings:
- Before and after: a room, a recipe, a design or a fitness result, shown in the same frame.
- Comparison: two products, two apps or two techniques running in parallel.
- Reaction: the original clip in one half, the creator's reaction in the other.
- Multiple perspectives: two camera angles of the same event.
- Podcasts and interviews: each speaker in their own cell.
Split screen is a format choice, not a growth guarantee. It earns its place when the second clip adds information or keeps the eye moving while the first one does the talking.
How Do You Make a Split Screen Video in 3 Steps?
Every editor, from Premiere Pro to a browser tool, follows the same logic. Microsoft's Clipchamp guide to split screen videos describes the core of it: put clips on separate stacked tracks so they play simultaneously.
Step 1: Set the canvas (9:16 at 1080×1920, 16:9 or 1:1)
Choose the aspect ratio before you import anything. Changing it later forces you to redo every position.
| Aspect ratio | Resolution | Use for |
|---|---|---|
| 9:16 | 1080×1920 | YouTube Shorts, TikTok, Instagram Reels |
| 16:9 | 1920×1080 | Standard YouTube, desktop viewing |
| 1:1 | 1080×1080 | Square feed posts |
FlexClip's vertical split screen tutorial for Premiere Pro starts by setting the sequence to 1080×1920, the standard 9:16 frame.
Step 2: Stack the clips on separate tracks and trim to equal length
Place clip one on the bottom track and clip two on the track above it. Align both to the same start point.
Trim them to the same duration. If one clip ends early, half your frame goes black or freezes, which reads as a mistake.
Step 3: Scale, position and crop each clip, then export
Resize each clip to fit its cell, move it into place and crop away overflow. Filmit's Premiere Pro split screen guide gives exact numbers for a half-screen split on a 1920-wide frame:
- Set Scale to 50 on both clips.
- Set the left clip's X position to 480.
- Set the right clip's X position to 1440.
You have two ways to fill each cell, as Noble Desktop's Premiere Pro tutorial explains:
- Full clip: scale the clip down so the whole image is visible. You keep everything, but get empty bars around it.
- Cropped: scale the clip to fill the cell and crop the edges. You fill the frame, but lose part of the image.
For short-form, cropped almost always looks better. Empty bars waste the small screen.
How Do You Make a Vertical Split Screen for TikTok, Shorts and Reels?
A vertical split screen video stacks clips top and bottom on a 1080×1920 canvas. Side-by-side layouts on 9:16 produce two tall, narrow strips only 540 pixels wide, which is too thin for most footage.
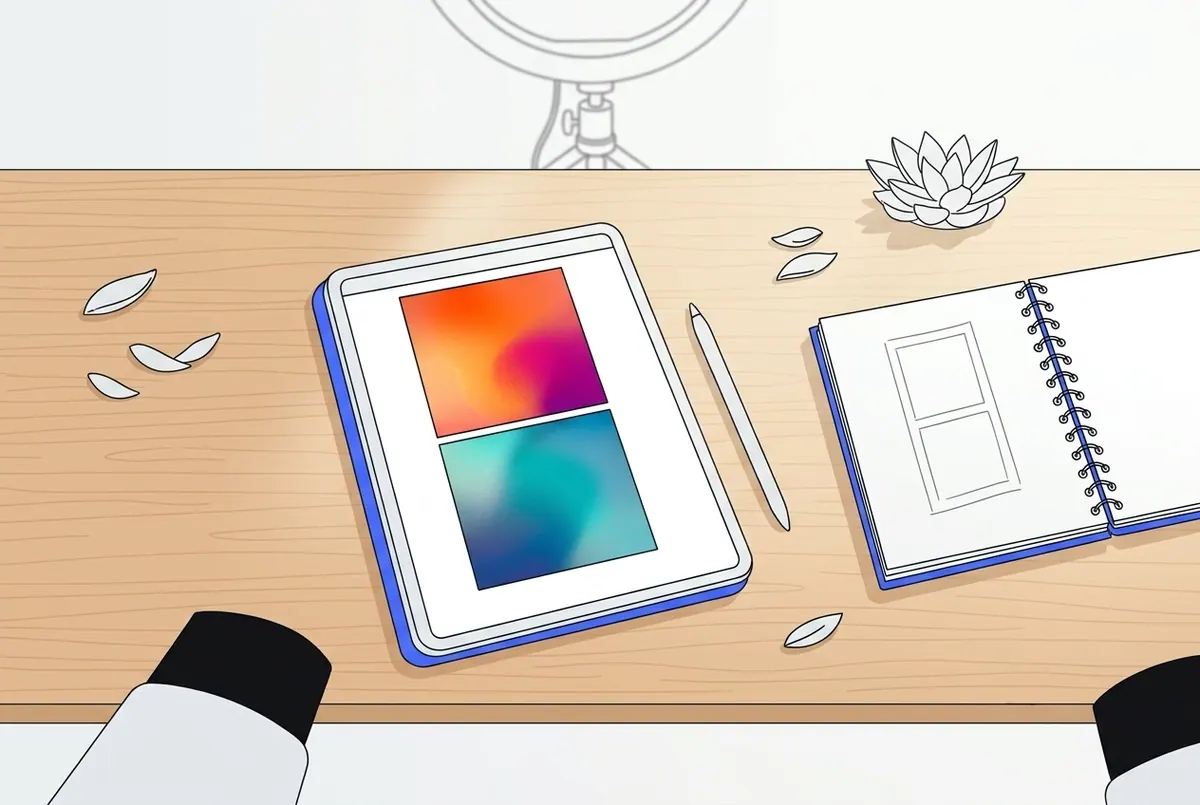
Top/bottom layout cheat sheet: 50/50, 60/40 and 3-panel
The pixel figures below are straight arithmetic on a 1080×1920 frame.
| Layout | Cell sizes (px) | Best for | Caption placement |
|---|---|---|---|
| 50/50 top/bottom | 1080×960 each | Story over gameplay, before/after | On the divider line, centered |
| 60/40 top/bottom | 1080×1152 top, 1080×768 bottom | Main clip plus supporting B-roll | Lower third of the top cell |
| 3 equal strips | 1080×640 each | Three-way comparisons, rankings | Inside the middle strip |
| 1 large + 2 small | 1080×960 top, 540×960 twice below | Reaction plus two references | Inside the large cell |
| 4-panel grid | 540×960 each | Multi-angle, quick montages | Short labels per cell only |
When your source footage is 16:9 horizontal, scale it until it fills the 1080-pixel width of its cell, then crop the top and bottom. This keeps the frame full without bars.
Caption safe zones and where to place subtitles
Each platform overlays its own interface on vertical video: the caption text and username at the bottom, action buttons on the right side, and sometimes a header at the top. Captions placed in those areas get covered.
Practical rules that hold across platforms:
- Keep captions horizontally centered and away from the right edge.
- Avoid the bottom strip of the frame, where the platform's description text sits.
- Placing captions on the divider between the two halves keeps them in the center of the screen and clear of both interfaces.
- Check each platform's current creator guidance for exact margins, because interface layouts change.
For more on caption styling and placement, see my guide to AI captions and video engagement.
What to put in each half
Put the information in the top half and the motion in the bottom half. Viewers read the top first.
- Story + gameplay: narration and captions on top, satisfying gameplay or parkour footage below.
- Before + after: the "before" state on top so the reveal lands at the bottom.
- Product A + product B: the same test run on both, synced to the second.
- Original + reaction: the source clip on top, the reacting face below.
- Talking head + demo: the speaker in one half, the screen recording or product close-up in the other.
How Do You Make a Split Screen Video in Premiere Pro, CapCut, iMovie and Online Tools?
The underlying steps match across tools. Movavi summarizes them in four: add videos, move one to an overlay track, choose the layout, save.
Premiere Pro: Motion, Scale, Position and Crop; four-panel grid with dividers
- Create a sequence at 1080×1920 for vertical or 1920×1080 for horizontal.
- Place each clip on its own video track, trimmed to equal length.
- Open Effect Controls > Motion and adjust Scale and Position for each clip.
- Apply the Crop effect to trim overflow from each clip's edges.
- For a four-panel grid, draw divider lines with the Pen tool on a top track.
- Export with your platform's resolution and aspect ratio.
Filmit also notes that GridMaker, an extension running inside Premiere, can build grids in one click.
CapCut: resize the second clip and reposition, templates and mask method
- Import your first clip to the main track.
- Add the second clip as an overlay above it.
- Resize the second clip and drag it into position, as CapCut's official side-by-side guide describes.
- Use the Mask tool for a clean straight edge between the halves.
- For a three-way split, add a third overlay and repeat the resize step.
- Or start from one of CapCut's split screen templates and swap in your clips.
iMovie on iPhone and Mac: Split Screen in the overlay menu
Apple's support guide for video overlay effects in iMovie on iPhone lists Split Screen as an overlay option next to Cutaway and Picture in Picture.
- Add your first clip to the timeline.
- Add a second clip as an overlay; on Mac, drag it to the track above the first clip.
- Open the overlay menu and choose Split Screen.
- Pick the side or position for the second clip.
- Adjust the slide-in transition duration or set it to none.
One limit: iMovie handles two clips at a time and is built around horizontal projects, so it is less suited to 9:16 layouts.
Free online editors: Kapwing, VEED, Clipchamp, Flixier
Browser tools need no install. Kapwing, VEED, Clipchamp and Flixier all offer split screen editing with layout presets. Artplayer's browser tool processes files locally and exports an MP4 in 16:9, 9:16 or 1:1.
- Upload both clips.
- Pick a layout preset or set the canvas to 9:16.
- Drag each clip into its cell and resize.
- Mute the clip whose audio you don't want.
- Export, then check the file for a watermark.
Free tiers change often. Check each tool's current export limits and watermark policy before you build a full series on it.
Which Split Screen Method Is Best for You? (Comparison Table)
Manual editor vs. phone app vs. online tool vs. AI generator
| Method / tool | Platform | Skill level | Speed | Best for | Caveats |
|---|---|---|---|---|---|
| Premiere Pro | Desktop | Advanced | Slow per video | Precise grids, client work | Manual Scale/Position per clip |
| CapCut | Phone, desktop | Beginner | Fast | TikTok-native edits, templates | Manual resizing per overlay |
| iMovie | iPhone, Mac | Beginner | Fast | Simple two-clip splits | Two clips max, horizontal focus |
| Browser tools (Kapwing, VEED, Clipchamp, Artplayer) | Web | Beginner | Fast | One-off splits, no install | Free-tier limits and watermarks vary |
| AutoShort | Web | Beginner | Fastest for narrated content | Daily story or faceless series | You assemble the stacked layout |
Mobile apps vary widely. Filmora's roundup of split screen apps covers options from simple two-video editors up to apps that handle nine frames in one layout.
The pattern in this table: manual tools give you control over the layout, while AI tools save the most time on the content inside the layout, such as script, voiceover and captions.
How Can You Build a Split Screen Look Faster with AI in AutoShort?
The slow part of a story-over-gameplay split screen video is not the layout. It is writing the script, recording narration and timing captions. That is the part I automate.
To be precise: AutoShort does not have a one-click split screen layout preset. You build the stacked look with the generated video, the background options and the editor.
Generate the video: script, scenes, voiceover and synced captions
- Enter an idea, a topic or a link.
- Let the Script generator write a hook, middle and close.
- Pick a style. Generates the whole video assembles scenes, voiceover and synced captions without touching an editor.
- Choose a voice: male or female, a cloned voice, in over 30 languages.
Start in the AI Shorts Studio, or go straight to faceless videos if you want AI narration with no camera and no voice of your own.
Use the background and editor options to build the stacked look
AutoShort exports in 1080p with a background that can be keyed out. That makes the narrated, captioned layer easy to place over or above any second clip.
- Export the narrated layer with the keyable background.
- Place it on the top track, with your gameplay or B-roll on the track below.
- Position the caption block on the divider line.
- Add background music in the online editor if the second clip has no audio.
Save a recipe and rerun it for daily posting
Once a layout and style work, save it as a recipe. Next time, change only the topic and rerun it in one click. Agencies can keep each client in its own brand project with their videos, voices and style.
Auto-publish to Shorts, TikTok and Reels
The scheduler and Auto-publish post finished videos to YouTube, TikTok and Instagram automatically.
| Plan | Price per month | Videos per month | Credits per month | Export |
|---|---|---|---|---|
| Essential | $9 | 5 | 250 | 1080p |
| Creator | $29 | 25 | 1,000 | 4K |
| Pro | $60 | 60 | 2,500 | 4K |
Yearly billing saves 33%, equal to two months free. Prices exclude VAT and local taxes.
When manual editing is still better: frame-accurate comparisons, 4-panel grids with custom dividers, or multi-camera footage you shot yourself. For those, Premiere Pro or CapCut gives you finer control.
How Do You Fix Common Split Screen Mistakes?
Audio clashing: keep one clip's sound or use a voiceover
Cause: both clips play their original audio at once. Fix: mute every clip except one, or mute all of them and add a single voiceover. In story-over-gameplay formats, the gameplay track should always be muted or reduced to quiet background sound.
Mismatched frame rates and durations
Cause: clips shot at different frame rates, or trimmed to different lengths. Fix: set the sequence to one frame rate and conform clips to it. Trim every track to the same out-point, or loop the shorter clip so no cell goes black before the end.
Resolution loss when cropping and scaling
Cause: scaling a clip up to fill a cell, then cropping, stretches fewer pixels across more screen. Fix: use source footage at least as large as the cell you are filling. A 1080×960 cell needs footage that is 1080 pixels wide or more after cropping. Scale down, not up, whenever possible.
Distracting layouts: too many panels, captions covering faces
Cause: four panels on a phone screen, or captions placed over a face in the top half. Fix: on vertical video, stay at two or three panels. Move captions to the divider and preview on a phone before posting.
Split screen is the wrong choice when:
- One strong visual carries the whole video.
- A tutorial needs full-screen detail, such as small interface text.
- Both clips are slow and the contrast adds nothing.
- On-screen text becomes unreadable at half size.
In those cases, use picture-in-picture: the main clip stays full screen and a small inset adds context.
What Export Settings Should You Use for a Split Screen Video?
Resolution and aspect ratio per platform
| Destination | Aspect ratio | Resolution |
|---|---|---|
| YouTube Shorts, TikTok, Instagram Reels | 9:16 | 1080×1920 |
| Standard YouTube | 16:9 | 1920×1080 |
| Square feed posts | 1:1 | 1080×1080 |
These are the same three ratios browser tools like Artplayer offer at export. Export as MP4 for the widest compatibility.
Final checklist before posting
- Play the full video once with sound on to confirm only one audio source is audible.
- Check that captions sit clear of the platform interface and of any faces.
- Confirm both cells are aligned with no gaps or slivers at the edges.
- Verify every clip runs to the final frame.
- Preview the export on a phone, not just on your monitor.
- Confirm the export is 1080×1920 for vertical platforms.
Conclusion
A split screen video comes down to three moves: set the canvas, stack the clips, then scale, position and crop. On Shorts, TikTok and Reels, use a 1080×1920 top/bottom layout, keep one audio source and put captions on the divider. The manual tools handle the layout well. The time sink is the content inside it. If you post narrated story or faceless videos daily, start creating free with AutoShort and generate the script, voiceover and synced captions in minutes, then drop them into your split screen layout.